
"It should only take a few hours to build, right?" <-- famous last words of my best friend, Andrew, who fell in love with the look of pipe shelving and decided it would be perfect for his bedroom wall. I'd seen these DIYs all over the interweb and volunteered to help.
WARNING: This project is definitely doable but requires lots of planning and more work than you'd think. It's also not cheap, but Andrew absolutely loves the end result and it's probably a lot less than other custom-built shelving alternatives.
Total time: about 16 hours with 2 people
Total cost: about $330 for an approximately 8 ft tall, 6 ft wide shelf array
Materials List:
Wood
- 4 - 1"x12" 6ft long pine board
- 1 - 1'"x12" 3ft long pine board (custom cut)
Pipe (all 1/2" diameter)
- 5 - 18" nipple (this is the technical term, I swear!)
- 11 - 12" nipple
- 14 - 8" nipple
- 3 - 6" nipple
- 3 - couplings
- 3 - 2.5" extender
- 1 - 31" pipe (custom cut)
- 14 - 3-way tees
- 17 - elbows
- 6 - base flanges
Miscellaneous
- 1" wood boring drill bit (we found this worked much better than a hole-saw)
- Degreaser (we used heavy-duty citrus degreaser)
- Sandpaper (#150)
- Sandpaper handle (optional but highly recommended)
- Woodstain + polycrylic (we used Varathane stain+poly in Dark Walnut)
- Cheap synthetic paintbrushes for the stain
- Spray primer for metals (we used Krylon dark automobile primer)
- Spray paint (we used Rustoleom black semi-gloss)
- Screws that fit the base flanges
- Gloves, rags, dropcloth
See the steps below!
Step 1: Plan out your shelving
Preparation is key - taking the time to find and mark your studs, decide how many columns and rows, the height, width, depth and layout of your shelves. Masking tape helps to visualize.
We went with an asymmetrical plan, which looks awesome, but it does complicate the calculations. The hardware store usually carries extenders and couplings for pipes in various lengths, so we were able to work out combinations that gave us all the lengths we needed, but be prepared to do some math =(
A blueprint is highly recommended. We consulted this thing so many times during the process.
Blueprint Key: Dark circles = base flanges; X = 3-way tee; triangle = elbow


Step 2: Go shopping
Make a shopping list and bring a tape measure. Also, prepare to be flexible and go with the flow a bit. For example, we found that at our local Home Depot (in Hollywood, CA):
- Has a lot of pre-cut lengths of 12" deep pine board, making this a convenient shelf depth and was MUCH cheaper than buying longer boards and getting them custom cut
- Only carries pipe nipples in even-numbered lengths (8", 10", 12", etc.)
- Can only custom-cut pipe if it's over 24" in length
Step 3: Degrease your pipes
We used this stuff and it worked like a charm. Some tutorials recommend soap and water but I can't even imagine getting all your pipes in a tub big enough and then waiting for them all to dry.
TIP: If your pipes have insanely annoying individual stickers that you have to peel off one by one, you might want to grab some Goo Gone.

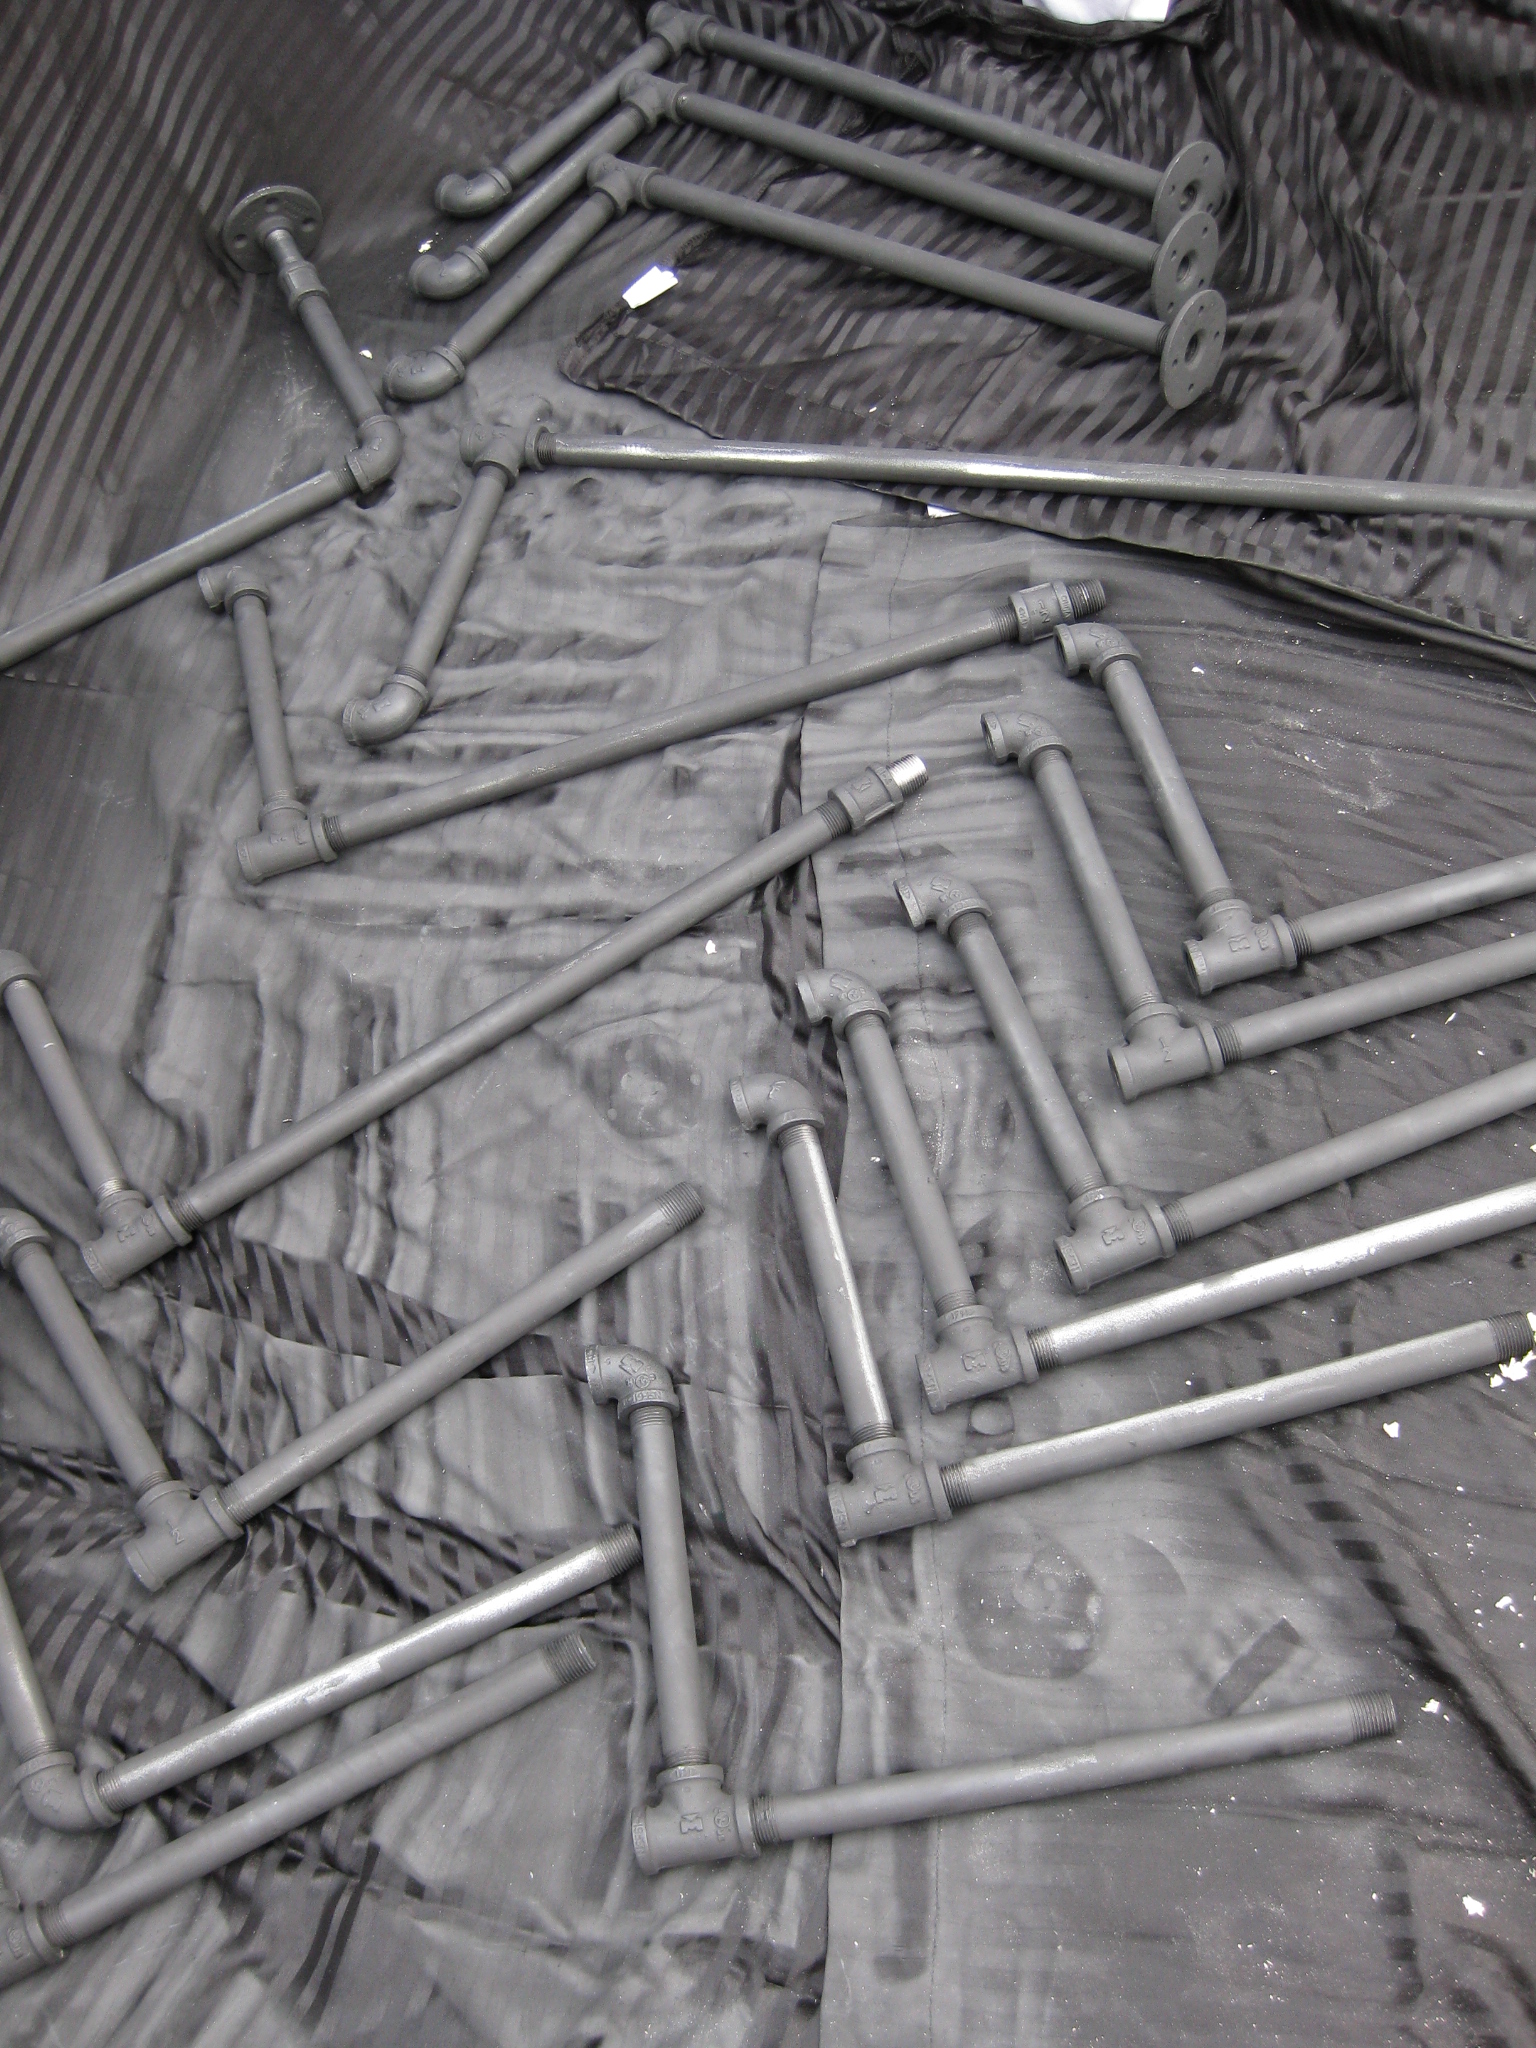
Step 4: Prime and spray paint your pipes
You'll have to spray the pipes from all angles in order to coat them evenly all around.
TIP: It's super-helpful to assemble your pipes into the smaller pieces that will make up your shelf supports BEFORE you prime and paint. This way you can more easily get at all the sides.
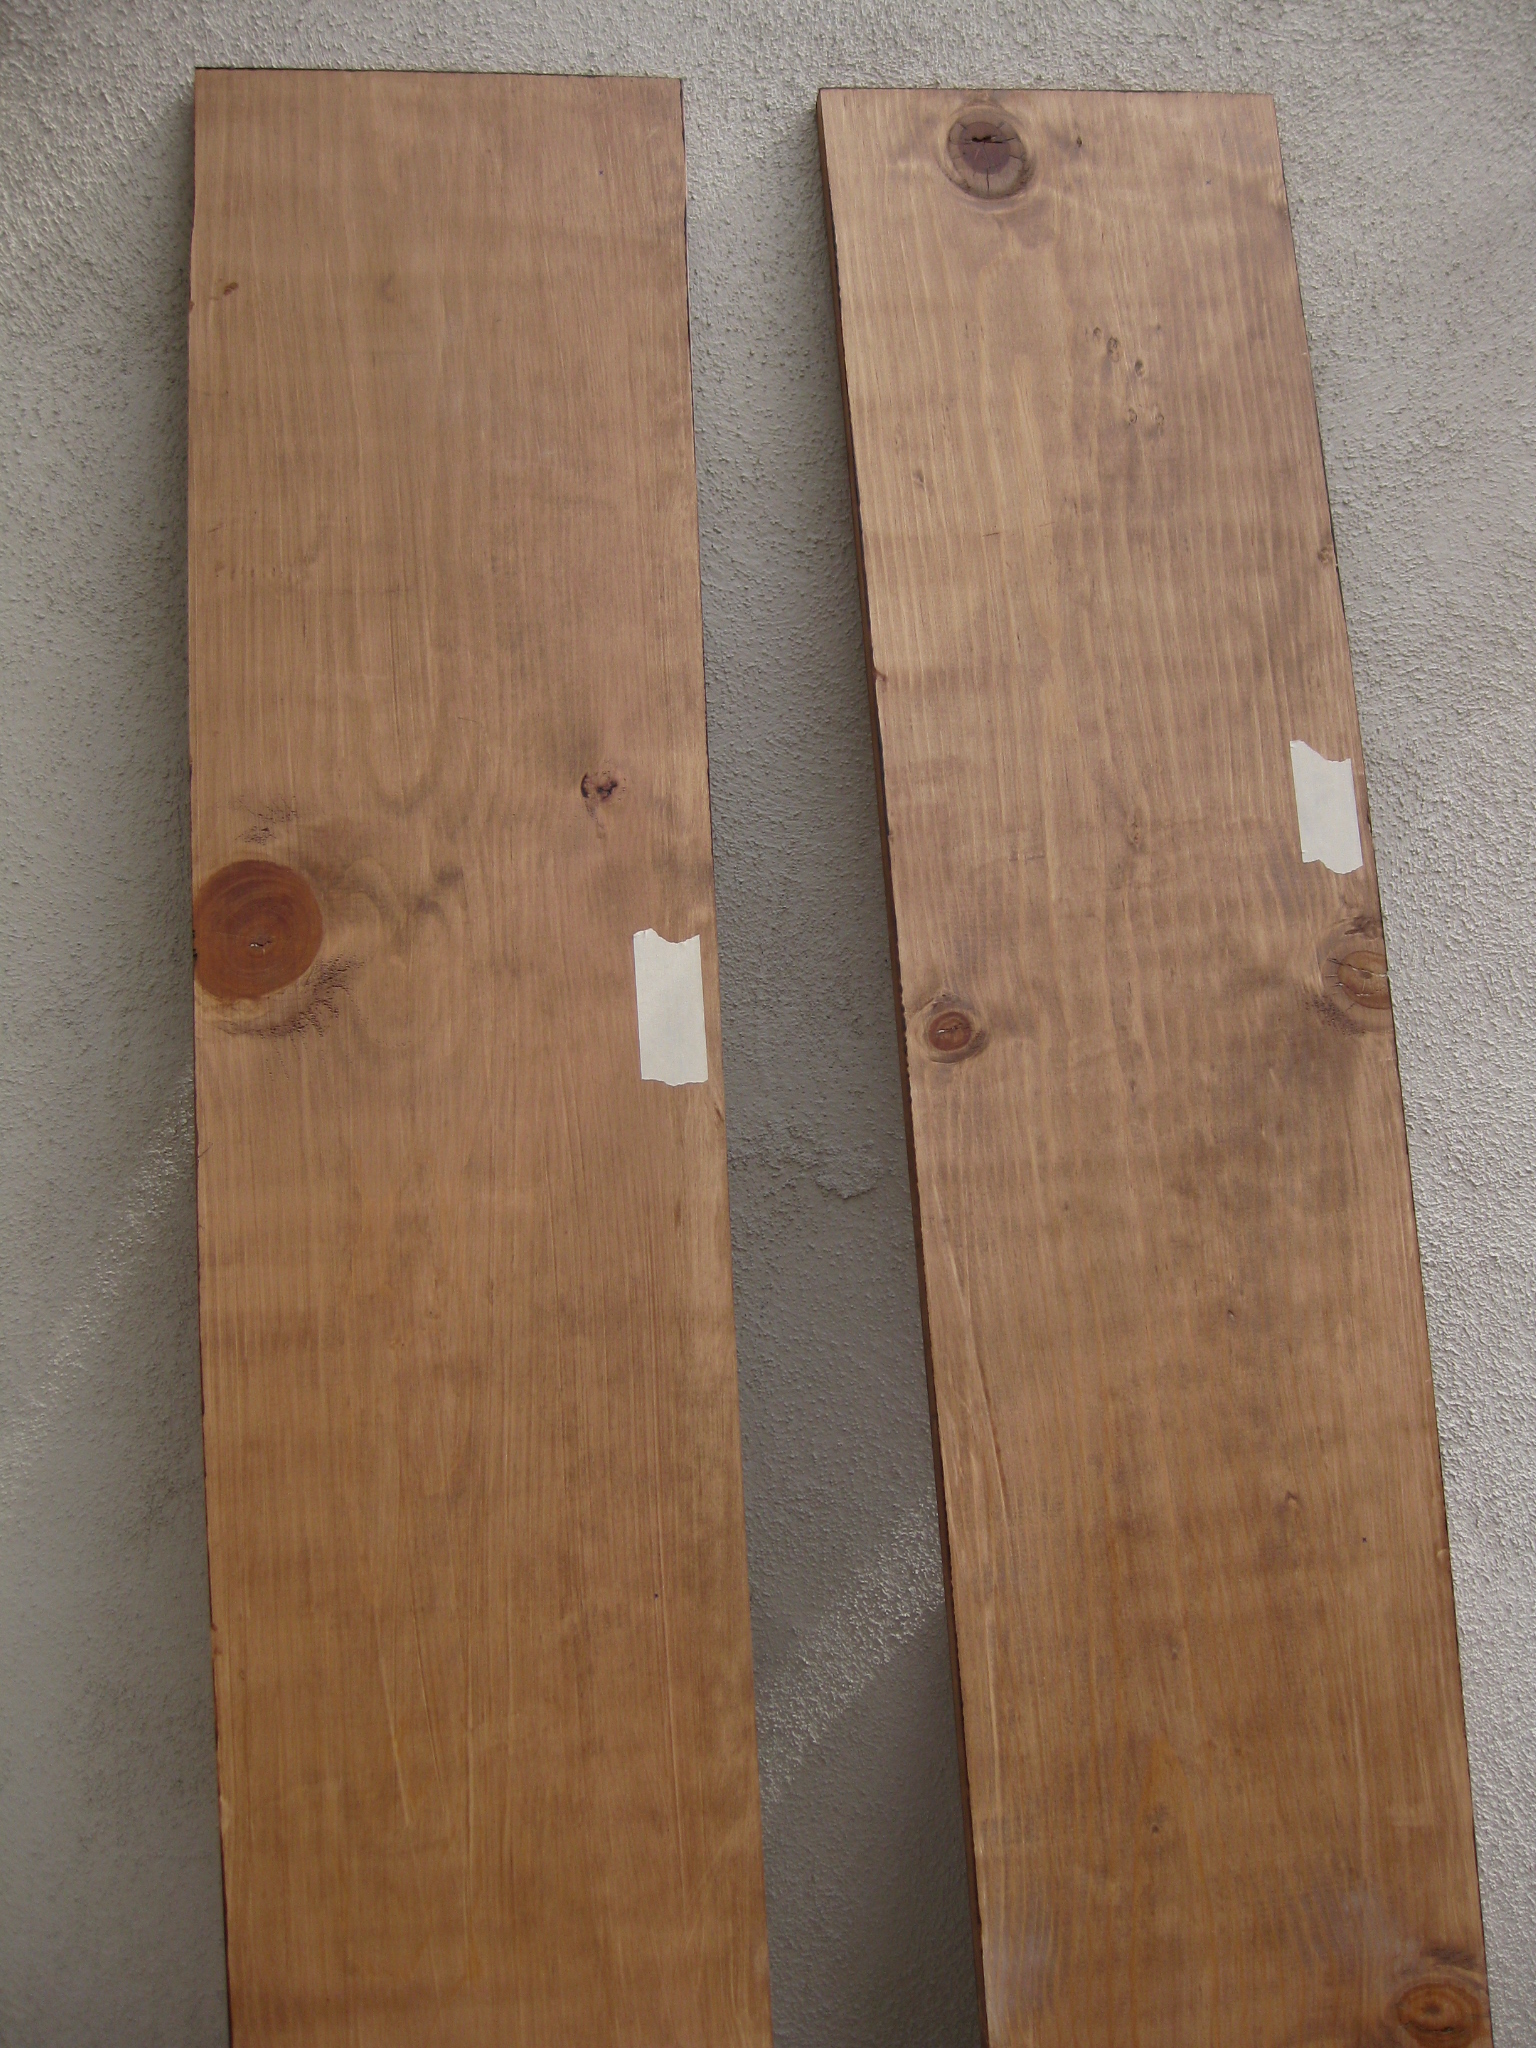
Step 5: Sand and stain your shelves
We sanded once with a medium-grit (#150) sandpaper and wiped the boards down with some old t-shirts.
For the staining, we used a stain+poly in one in Dark Walnut and some cheap synthetic brushes (3-pack for $7).
TIP: When staining, pay careful attention to the edges and sides of the wood, where the stain can pool and create dark borders and drips.
Step 6: Measure and mark your wood
We decided which way we wanted each pine board to face (so we got the prettiest side showing), then marked with masking tape where the front edge would be.
We calculated the holes for the pipes should be drilled 1.5" from the front edge of each plank and centered on each stud. We marked those with a small "x".

Step 7: Drill holes in your wood
This is where things got a little confusing. The tutorials we read said to get a 3/4" hole-saw if you're using 1/2" pipe. But when we tested the hole-saw, it worked terribly and you can see the hole it made (top) was too small to thread our pipe through. Another tutorial said to get a 1/2" hole-saw, which would have been even more preposterous.
Fortunately, we had a 1" wood boring drill bit which worked much better and:
(1) the 1/2" pipe fit through with just a little bit of wiggle room (which we were grateful for later) but
(2) the 3-way tee did NOT fit through --> This is exactly what you want.
Conclusion: Hole-Saw = NO; Wood Boring Bit = YES


Step 8: Assemble your shelves!
We worked from the bottom up and adjusted and tightened as we went. We didn't feel the need to screw the bottom flanges into the floor - the weight of the shelves made it sturdy enough.
Finally, screw your top flanges securely into your studs.
AND YOU'RE DONE!!

Pat yourself on the back and decorate =)